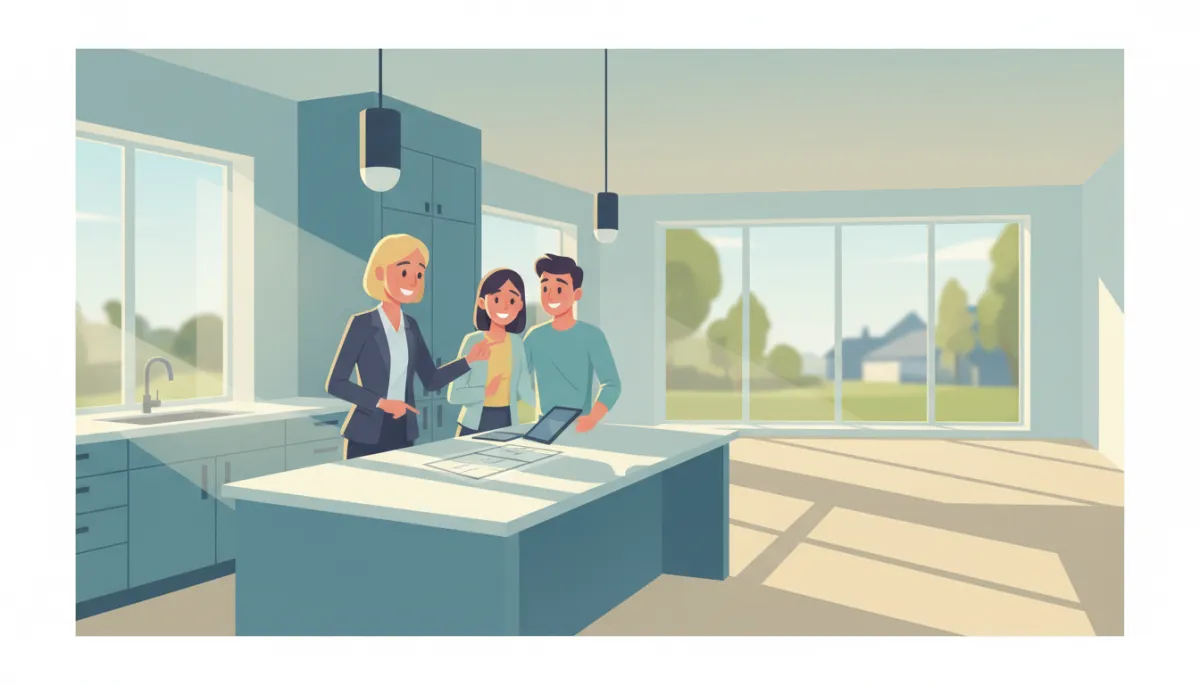
Final Walkthrough: What to Expect Before Closing
Real Estate, Home Buying, Final Walkthrough
What Happens During a Final Walkthrough?
The final walkthrough is your last chance to make sure the home you’re buying is exactly what you agreed to purchase no surprises, no unfinished repairs, and no missing fixtures. Here’s what really happens in those crucial last 30–60 minutes before closing.
The Purpose of a Final Walkthrough
A final walkthrough is not a full home inspection. Instead, it’s a brief, focused visit usually within 24 hours of closing meant to confirm that the property’s condition matches the purchase agreement. You’re verifying that the home is in substantially the same shape as when you made your offer and that any agreed-upon repairs or changes have been completed properly.
What Actually Happens During a Final Walkthrough?
During a final walkthrough, you and your real estate agent will move systematically through the home, room by room, using your contract and inspection report as a guide. The goal is to confirm, test, and document not to renegotiate, but to ensure promises were kept.
Confirm agreed repairs: You’ll check that all repairs requested after the inspection have been completed. Ideally, the seller has provided receipts or invoices so you can verify who did the work and when.
Test major systems and appliances: You’ll turn on the heating and cooling, run faucets, flush toilets, test light switches, and quickly check that appliances like the stove, dishwasher, and built-in microwave power on and appear to function as expected.
Walk the interior carefully: Look for new damage that wasn’t present at the inspection fresh wall cracks, water stains, broken tiles, or damaged flooring that may have happened during the seller’s move-out.
Check that agreed items remain: Anything written into the contract like window treatments, mounted TVs, light fixtures, or appliances should still be there. Likewise, items the seller agreed to remove should be gone.
Verify cleanliness and debris removal: While “broom clean” isn’t the same as a deep clean, the home should be free of personal belongings, trash, and obvious mess. You should be able to move in without hauling away someone else’s leftovers.
A Room-by-Room Walkthrough Checklist
To keep things organized, most buyers follow a simple checklist. While your agent may provide one, you can also create your own. Here are key areas to cover:
Exterior: Walk around the property. Check for damage to siding, roof (from the ground), gutters, and fences. Confirm outdoor fixtures, mailboxes, sheds, and landscaping look as expected.
Entry and living areas: Open and close doors, windows, and closets. Look for signs of leaks around windows and ceilings. Make sure outlets and switches have covers and appear safe.
Kitchen and bathrooms: Run water in sinks and tubs, test hot and cold, and look under cabinets for leaks. Confirm the disposal, exhaust fans, and GFCI outlets work. Check that toilets flush properly and stop running afterward.
Bedrooms and storage: Open every closet, test windows, and note any holes or damage hidden behind furniture that has since been removed.
Garage, attic, and basement: Look for leftover items, water issues, or damage that wasn’t visible before. Confirm any included shelving or workbenches are still in place if they were part of the deal.
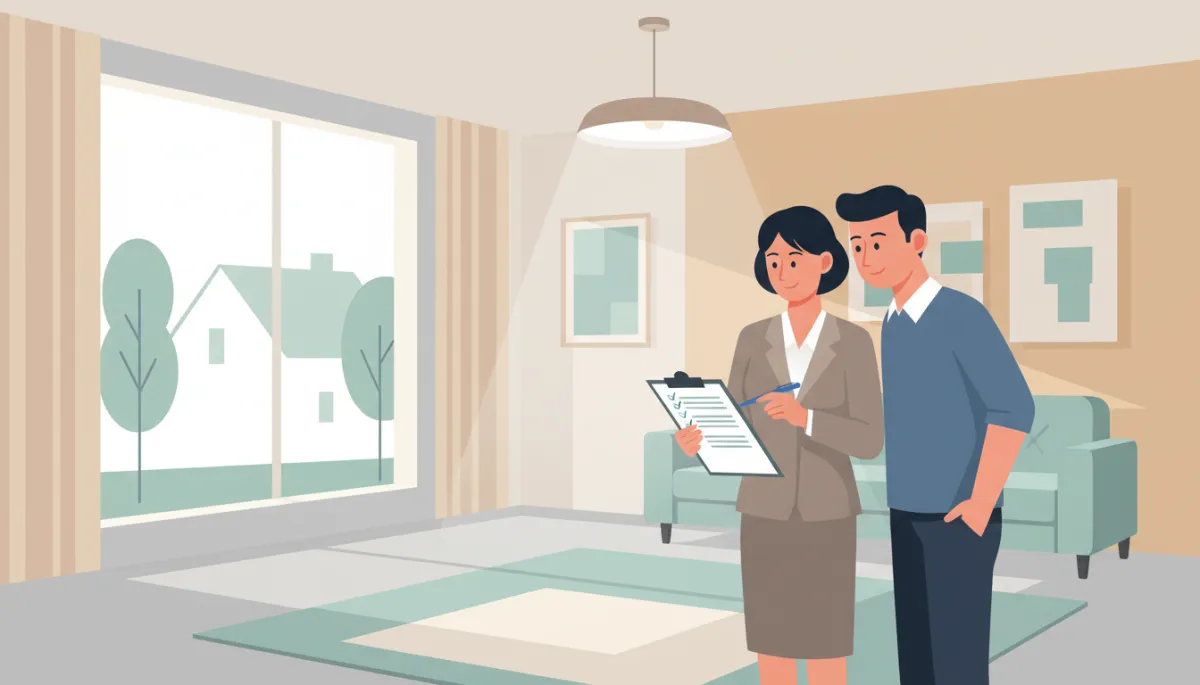
A simple checklist keeps your final walkthrough focused, calm, and thorough.
What If You Find a Problem?
Discovering an issue at the final walkthrough doesn’t automatically mean your closing is off. In many cases, your agent can work with the seller’s side to find a practical solution, such as a repair credit, having a contractor return after closing, or holding funds in escrow until the work is complete. The key is to document everything with photos and notes and to speak up before you sign your closing paperwork.
💡 Pro Tip: Bring your original inspection report, repair addendums, and a phone or tablet to take photos and notes during the final walkthrough. It’s much easier to resolve concerns when you have clear documentation in hand.
Make Your Final Walkthrough Work for You
The final walkthrough may only take an hour, but it protects one of the biggest investments you’ll ever make. By understanding what happens during a final walkthrough and approaching it with a clear plan you can head to the closing table confident that your new home is ready for you.
Ready for Your Own Final Walkthrough? Here’s Your Next Step.
If you’re approaching closing day or just starting to think about buying a home having the right guidance makes every step smoother, especially the final walkthrough. Our team helps buyers understand what to look for, how to protect their interests, and how to resolve last-minute issues without derailing their move.
Ready to feel confident on closing day? Reach out today to schedule a no-obligation consultation, and we’ll walk you through the entire home-buying process from first showing to final walkthrough step by step.
John Meier is a local real estate agent in Warrenton, MO (63383)helping sellers inWarrenton, Truesdale, and Wright Cityprepare their homes to shine for every showing.
Westplex Real Estate
📞(636) 242-5365
🌐JohnMeierSells.com


